Quick answer: to design a room using a photo for free, take a straight, well-lit image, upload it to a photo-based AI room designer, select one room type and style direction, and compare two or three variations. Use the result for visual planning—not as a precise floor plan, construction drawing, or guarantee that every generated item will fit.
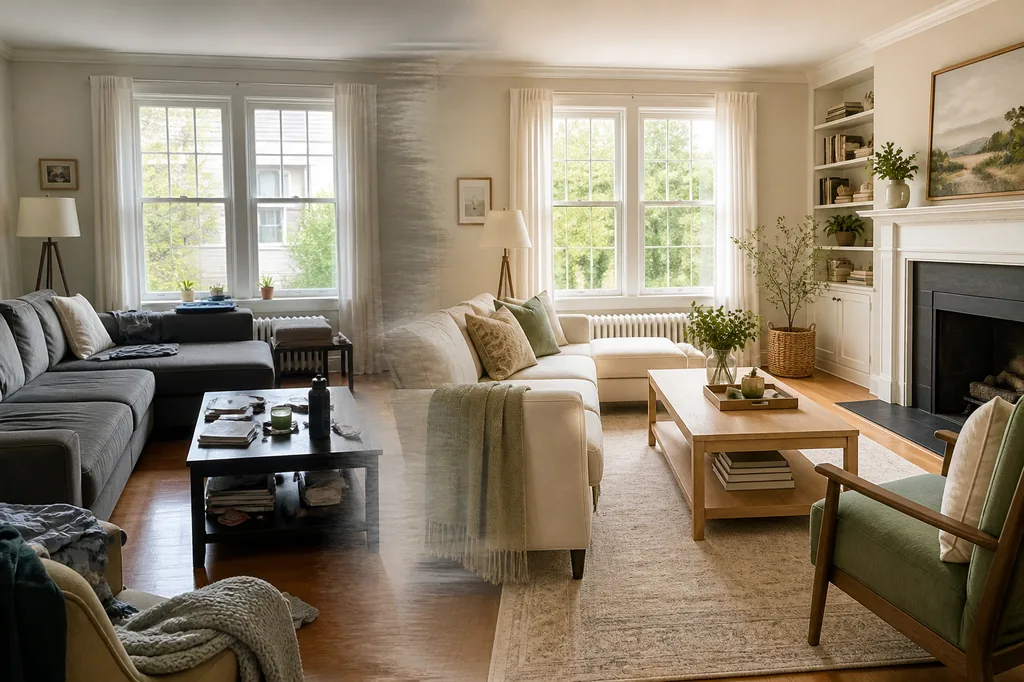
The Four-Step Photo-to-Room-Design Workflow
The goal is not to ask AI for a perfect finished room in one click. A better process separates photo quality, design direction, comparison, and real-world verification.
1. Start with one real room photo
Choose the room you actually want to change and keep the camera viewpoint consistent. A living room, bedroom, kitchen, or bathroom can work, but the room should be visible enough for walls, windows, doors, and major furniture to be understood.
2. Give the tool one clear design direction
Select a room type and a style such as modern, Scandinavian, Japandi, farmhouse, coastal, or warm minimalist. If you ask for every style at once, the result may look attractive but become difficult to compare.
3. Generate a small set of useful variations
Change one major variable at a time: wall color, sofa style, lighting mood, storage, rug, or overall palette. Two or three focused variations usually teach you more than a gallery of unrelated concepts.
4. Verify the idea before acting on it
Return to the original photo and check windows, doors, radiators, outlets, walking paths, ceiling height, and furniture dimensions. AI visualization is a fast design conversation; it is not a substitute for measurement or professional building advice.
How to Prepare a Room Photo for AI Design
A photo-based room designer can only work with the evidence in the image. You do not need a professional camera, but you do need a source image that shows the room honestly. Stand near eye level, keep the phone as straight as possible, and include the main wall, floor, windows, doors, and permanent fixtures.
Take the photo in natural daylight when possible. Turn on lights if the room is genuinely used that way, but avoid a strong glare or a dark corner that hides the floor and wall junctions. If the room is small, use a wider view without making the walls look dramatically stretched.
You can remove temporary clutter, but do not erase constraints that matter. A radiator, low beam, built-in cabinet, fireplace, doorway, or unusual window should stay visible. The goal is not to make the input look like a showroom; it is to help the AI understand what is fixed and what can change.
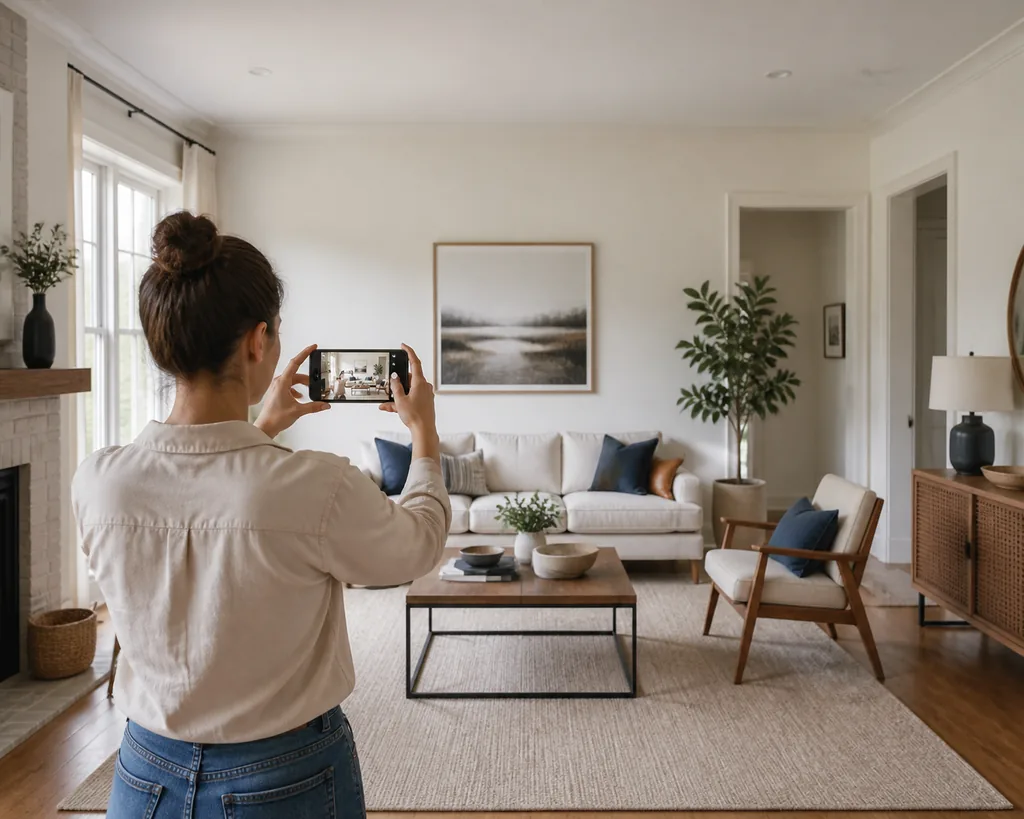
- Keep the camera level. A tilted phone can make walls and furniture look more distorted than they are.
- Show the edges of the room. Include enough floor, ceiling, corners, windows, and door openings to explain the space.
- Use one main viewpoint. If you want to compare results, use the same viewpoint for every variation.
- Leave fixed elements visible. Do not hide radiators, columns, built-ins, vents, plumbing fixtures, or low ceilings.
- Keep the original file. Save the unedited photo so you can compare the generated idea with the real starting point.
Compare AI Room Design Variations Without Losing the Brief
The phrase upload photo room redesign sounds like a single action, but good results come from a controlled comparison. Write down what you want to learn before generating: Does a lighter wall color make the room feel larger? Would a sectional block the balcony door? Does a darker rug work with the existing floor?
Keep the room and camera angle stable while changing one design question. This makes the variants easier to judge and prevents a dramatic but unrelated image from winning simply because it contains more decoration. If the tool offers a prompt or style field, describe the desired change in plain language and mention what should remain.
| Input or method | Best for | What it can miss | Use it when |
|---|---|---|---|
| Real room photo | Colors, materials, furniture mood, lighting, and visual direction | Exact scale, hidden constraints, and construction feasibility | You want to see how a real space could feel |
| Measured floor plan | Dimensions, circulation, furniture clearance, and zones | Realistic finishes, daylight, clutter, and atmosphere | You need to decide whether a layout can work |
| Prompt-only concept | Early inspiration and mood exploration | Your room's windows, proportions, furniture, and constraints | You are still exploring broad style ideas |
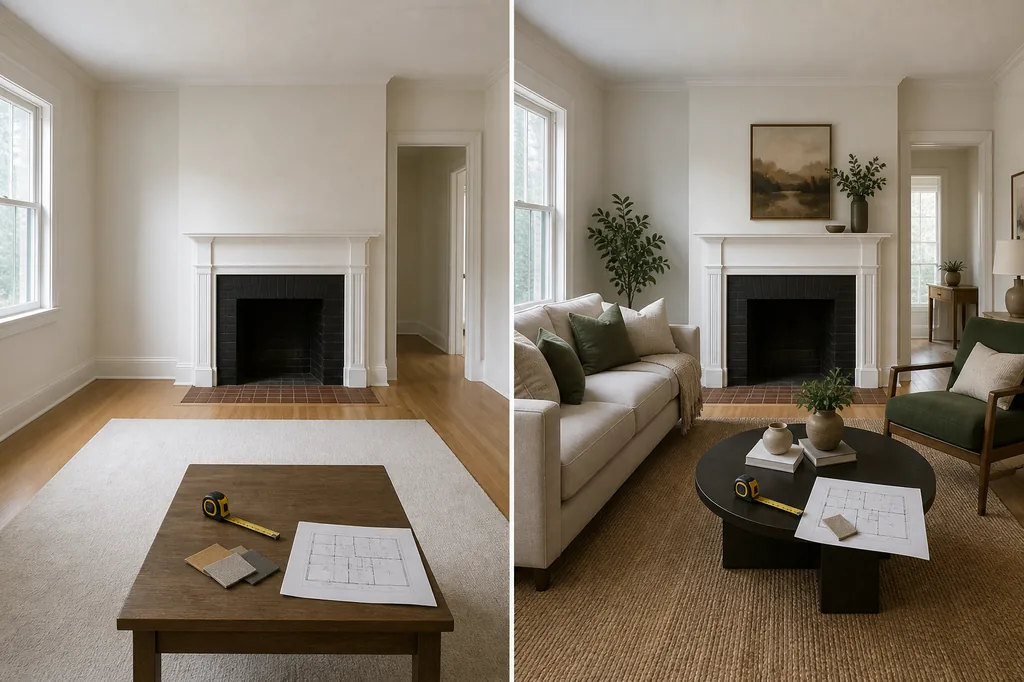
| Before-and-after comparison | Checking whether geometry and key features stay recognizable | Whether generated furniture is available or correctly sized | You are narrowing options before measuring and shopping |
How to Judge an AI Room Redesign
Start with geometry. Are the windows, doors, fireplace, ceiling line, and main wall in the right places? If a generated sofa covers a doorway or a cabinet appears where a window should be, treat the image as inspiration only and regenerate with clearer constraints.
Next check the design brief. Does the image actually answer the question you asked, or did it replace the room with a different space? A useful result should preserve enough of the original room that you can discuss a color, material, furniture type, or lighting idea with another person.
Then check practical details outside the image: furniture width and depth, walking clearance, delivery path, outlet access, ventilation, moisture exposure, and whether the finish is suitable for the room. AI can suggest a direction, but it does not verify product specifications or building requirements.
Save the strongest two or three versions and write a short decision note for each. For example: “keep the warm wall color, reject the deep sofa, test a smaller rug.” This turns an attractive image into a useful next step instead of an endless stream of variations.
When a Photo Is Not Enough
Use a photo when the question is visual: Which palette feels calmer? Would a wood accent wall suit the room? What might a modern living room or bedroom look like with softer lighting? For this type of exploration, the photo keeps the result connected to your real space.
Use a floor plan when the question is spatial: Will a king bed fit? Can two chairs clear the door? Where can storage go without blocking a radiator? Our floor plan and room photo workflow guide explains how to use both inputs without treating either one as a construction drawing.
For a quick visual experiment, you can start with AI Room Designer or the free AI interior design tool. If the room has a specific purpose, you can also continue to AI living room design, AI bedroom design, or AI room decorator after you understand the basic photo workflow.
Limits, Privacy, and Safer Design Decisions
A generated room image is a concept, not a measurement report. Do not use it to confirm load-bearing walls, electrical capacity, plumbing, waterproofing, fire safety, permits, or building-code compliance.
Be careful with scale. A chair that looks comfortable may be too deep for the walkway, and a beautiful pendant may hang in the wrong place. Measure the real room and compare product dimensions before purchasing.
Think about privacy before uploading. Remove personal photographs, documents, addresses, valuables, and faces that do not need to appear in the design reference. Keep an original copy offline or in a location you control.
Free access and generation limits can change by product, account, and time. Check the current tool interface for supported file types, credits, sign-in requirements, and export options instead of assuming that every free workflow has the same limits.
FAQ
Can I design a room using a photo for free?
Yes. A free AI room design workflow can help you explore colors, furniture styles, materials, and lighting ideas from a real room photo. Access, credits, file limits, and sign-in requirements vary, so check the current tool before starting.
What is the best AI to use to redesign a room from photos?
The best option depends on the decision. Choose a photo-based room designer when you want visual redesign ideas tied to your actual room. Choose a measured planner when exact furniture fit and circulation matter. For many projects, using both gives a more reliable result.
What photo works best for AI interior design?
Use a clear, well-lit, straight-on image that shows the main walls, floor, windows, doors, and permanent fixtures. Keep the camera viewpoint consistent when comparing different styles.
Can AI add furniture to my room photo and visualize it?
Many photo-based tools can suggest or visualize furniture, decor, colors, and lighting changes. Treat the output as a visual concept and verify the real item's dimensions, availability, materials, and installation requirements separately.
Is designing from a photo the same as using a room planner?
No. A photo is stronger for visual atmosphere and style direction. A room planner or floor plan is stronger for measurements, zones, and clearance. They solve related but different parts of the design process.
Should I trust an AI redesign before buying furniture?
Use it to narrow your options, not to approve a purchase by itself. Measure the room, check door and drawer clearances, confirm product dimensions, and sample colors or materials in the real lighting before committing.
Ready to test a room photo?
Upload a real room image, compare a focused design direction, and keep the original photo nearby so the concept stays grounded in your space.
Try AI Room Designer